Checking OTG Support on Your Mobile Device
Before using the Omnicomm Configurator with an Android device, you must ensure that your smartphone or tablet supports USB OTG (On-The-Go).
OTG support is required to establish a direct wired connection to Omnicomm equipment.
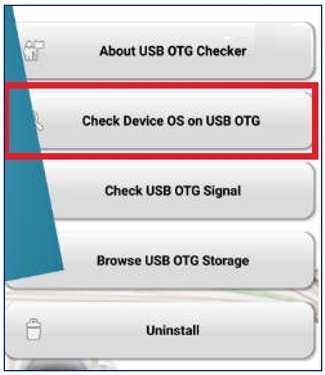
Installing an OTG Checker App
Download any reliable USB OTG support checker application from the Google Play Store. Examples include:
- USB OTG Checker
- OTG Troubleshooter
- USB OTG Checker – Easy Test
Verifying OTG Support
1. Open the OTG checker application.
2. Tap the option “Check USB OTG Support” or similar.
3. The app will begin scanning your device; you will see a message like “Checking…”
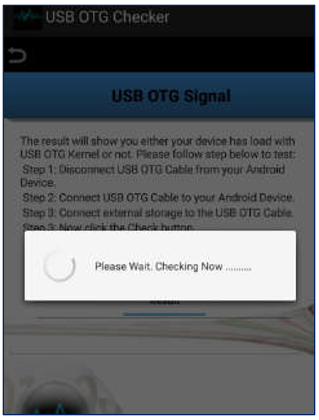
4. After a short moment, the app will display the result:
- “Your device supports USB OTG.”
- “OTG is not supported on this device.”

If the app confirms that your Android device supports OTG, you can continue with the setup process.
Additional Recommendations
Use a certified OTG cable or OTG adapter. Low-quality adapters may cause connection issues even if the device supports OTG.
Enable OTG mode if your phone requires it (common on some Xiaomi, OnePlus, Vivo, and Huawei models). This option is usually found in:
- Settings → Additional Settings → OTG
- Settings → Connected Devices → OTG
Ensure your device battery level is above 20%. Some smartphones disable OTG when the battery is low.
Remove any USB hubs. Connect the OTG cable directly to avoid compatibility issues.
Once OTG functionality is confirmed and properly enabled, you can proceed with connecting your Omnicomm equipment and configuring it through the Android version of Omnicomm Configurator.